or
cheat SpawnDino "Blueprint'/Game/PrimalEarth/Dinos/Sauropod/Sauropod_Character_BP.Sauropod_Character_BP'" 500 0 0 35


Common
Rare
Untameable
Cave
The Brontosaurus (bron-tuh-SAWR-uhs) is a species of dinosaur in ARK: Survival Evolved, and is one of the largest creatures in the game.
Basic Info
Dossier
This section is intended to be an exact copy of what the survivor Helena Walker, the author of the dossiers, has written. There may be some discrepancies between this text and the in-game creature.

- Wild
Among the largest creatures I've seen on the island, Brontosaurus lazarus is larger than any sauropod I've read about. In fact, the dinosaur is so massive that it ignores most other creatures. I've seen a pack of Raptors tear apart smaller dinosaurs while Brontosaurus continues eating, seemingly oblivious to the hunting pack.
- Known Information
Some may think this is an Apatosaurus, Dreadnoughtus, Argentinosaurus, or other sauropod - but this is a strange island and I'm the one doing the research. I'm convinced that this genus is Brontosaurus and no one can tell me otherwise. My study, my rules.
- Domesticated
Because of how docile it is, Brontosaurus makes the ideal pack-animal. Peaceful tribes use it to carry incredible quantities of resources, while warring tribes use it to mobilize their army. Unfortunately, its enormity means that most attempts to tame Brontosaurs can take longer than almost any other creature on the island.
Behavior
Brontosaurus is not aggressive, but can deal damage to players or dinosaurs by stepping on them if provoked. Another attack that they do is a tail swipe, which, for low to mid-level characters, can be a 1 or 2 hit death. The tail swipe does more damage than the stomping, has a long reach, and will fling you in the direction the swipe traveled. The Brontosaurus also has a large amount of health. If you want to kill one, ranged weapons or high-level hunting dinos are recommended.
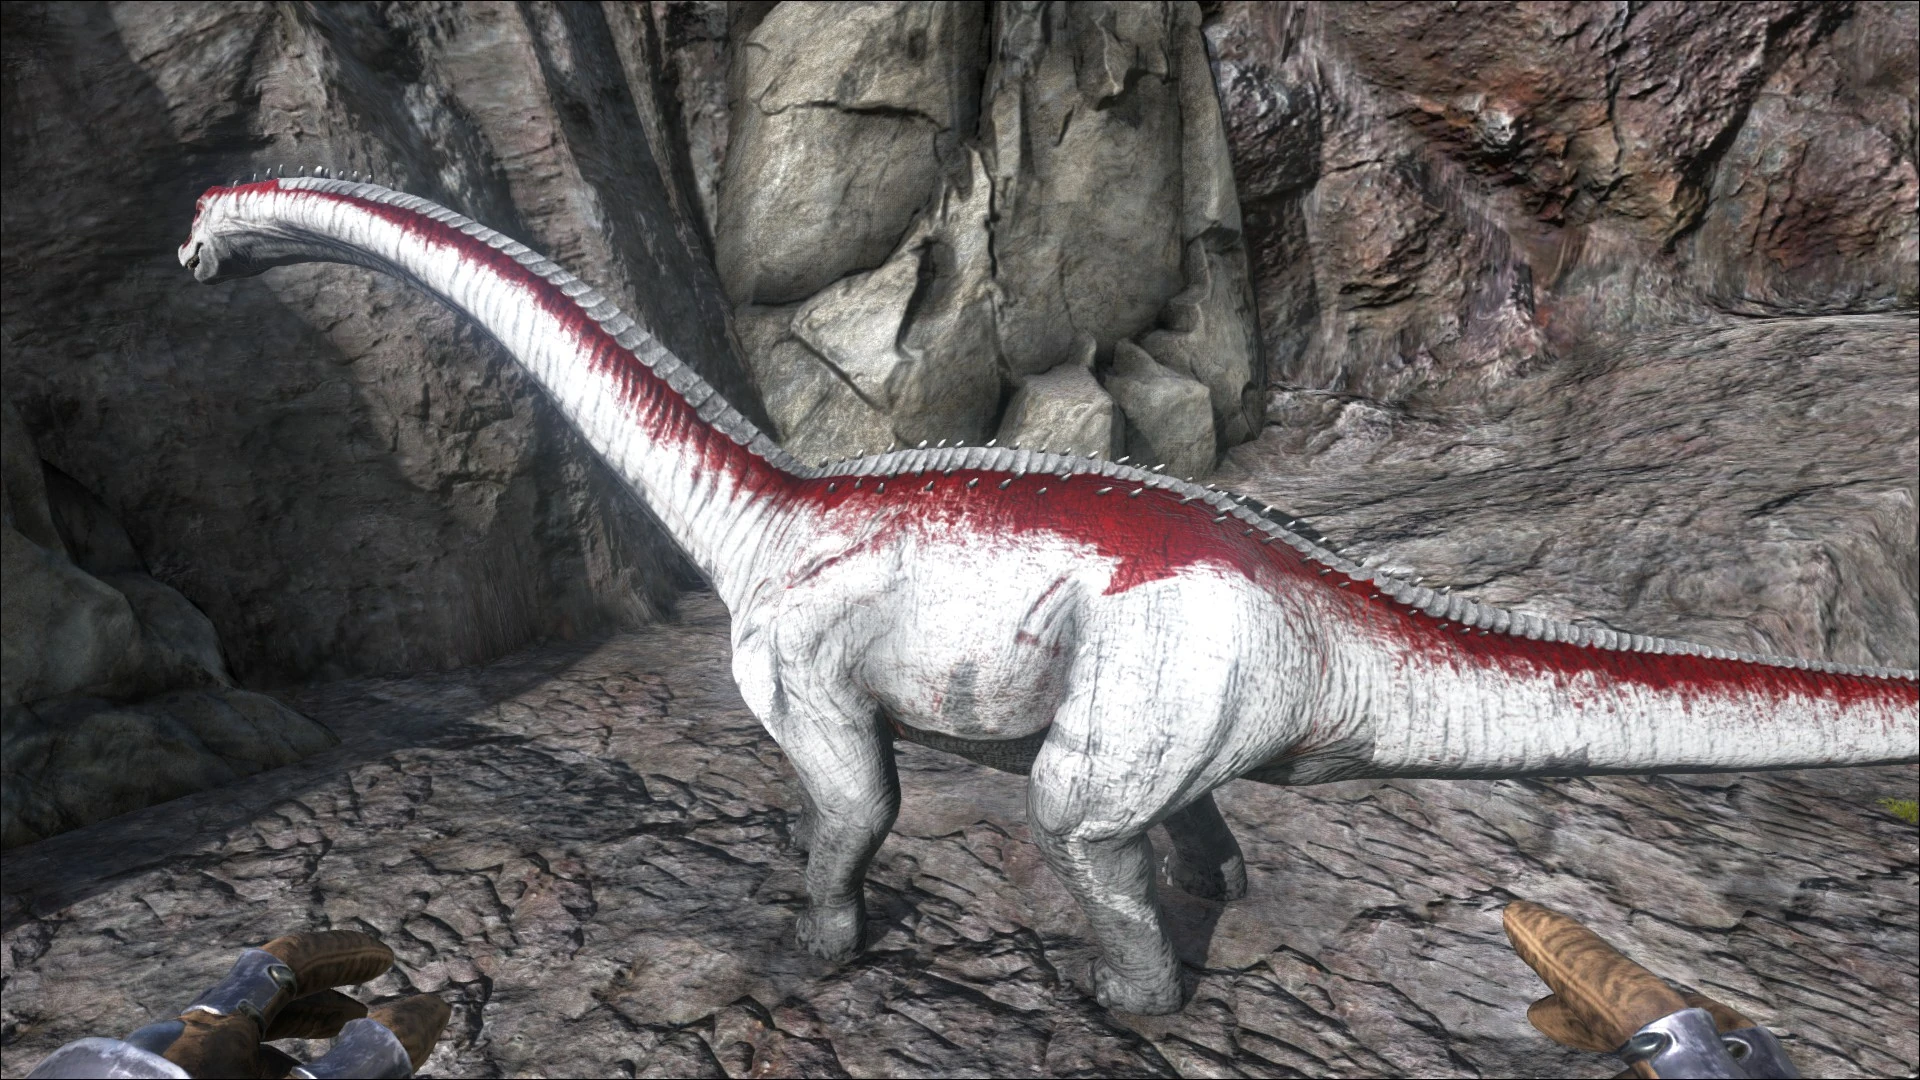
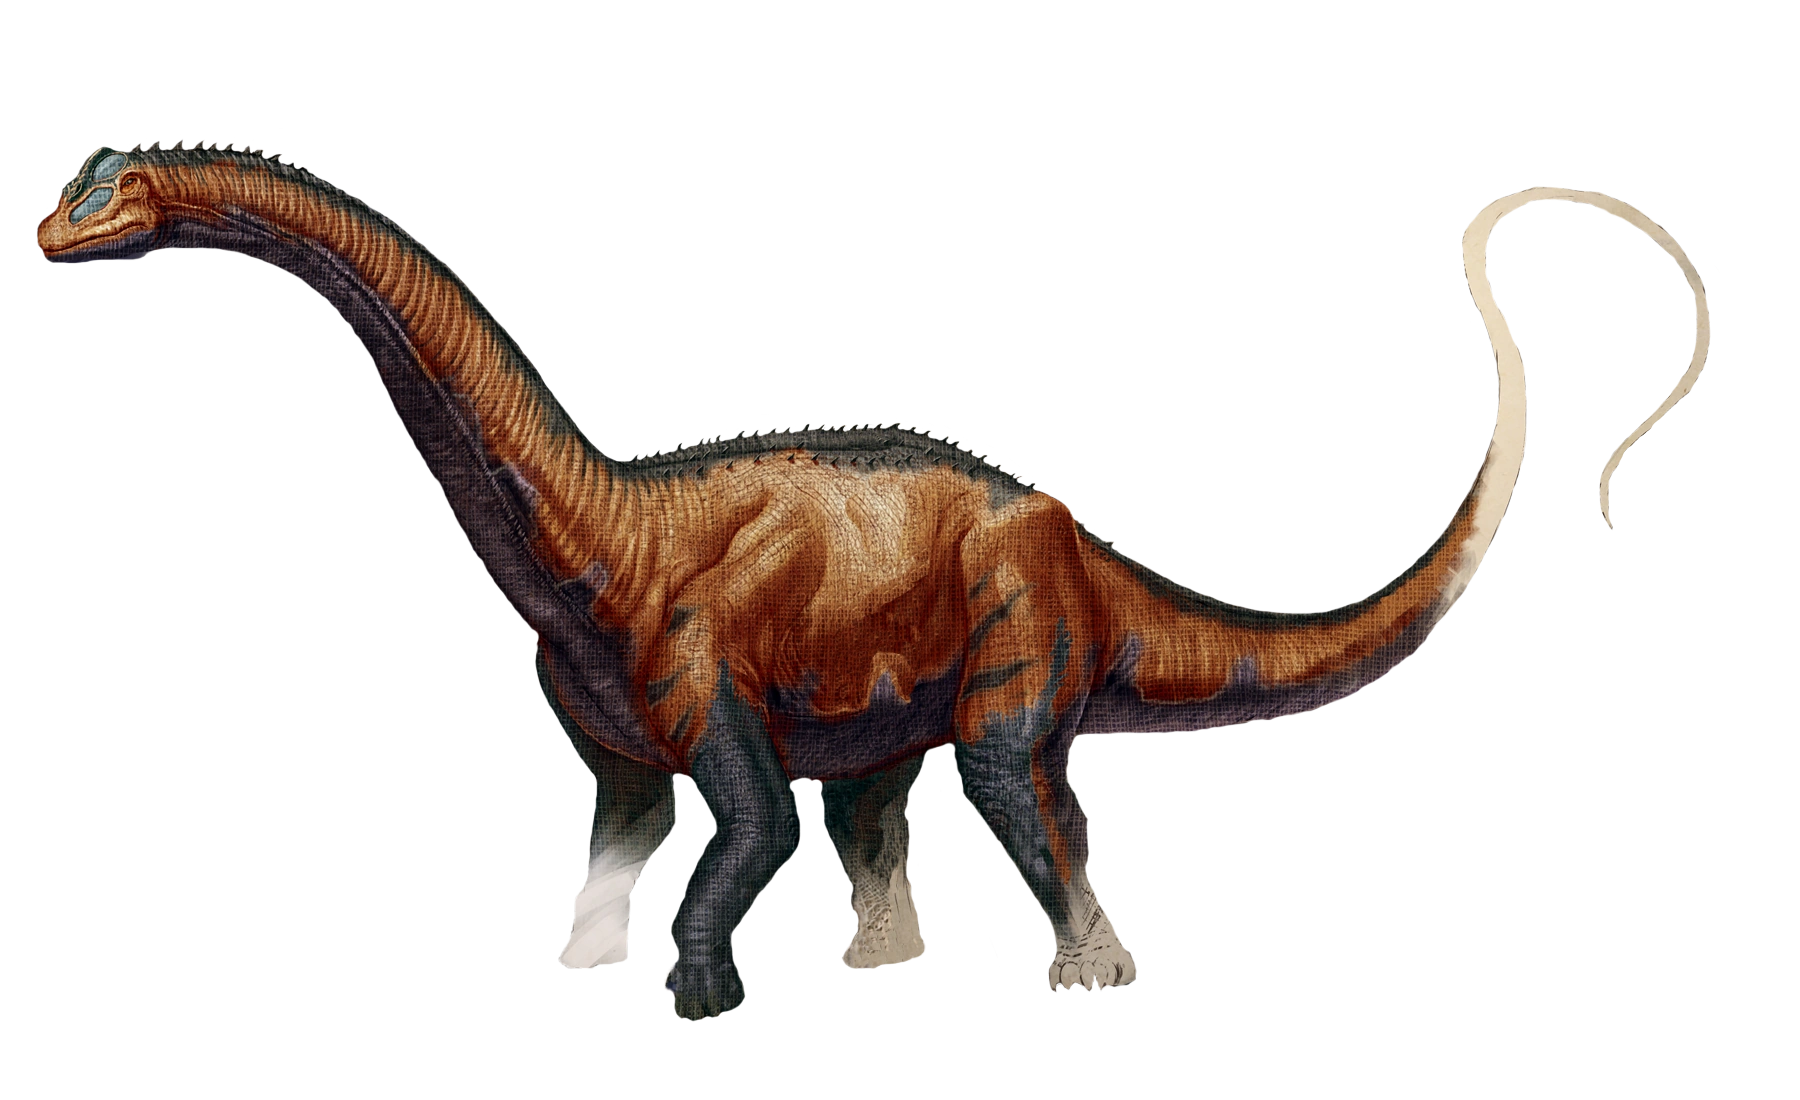
Appearance
The Brontosaurus is a gigantic sauropod dinosaur, unmistakable for any other species in both size and appearance. It is usually found alone or in small groups, browsing at heights well above that of smaller herbivores or along beaches. Its size and strength make it almost impervious to predation... save perhaps for audacious tribes.
This section displays the Brontosaurus's natural colors and regions. For demonstration, the regions below are colored red over an albino Brontosaurus. The colored squares shown underneath each region's description are the colors that the Brontosaurus will randomly spawn with to provide an overall range of its natural color scheme. Hover your cursor over a color to display its name and ID.
This information can be used to alter the Brontosaurus's regions by entering cheat SetTargetDinoColor <ColorRegion> <ColorID> in the cheat console. For instance, cheat SetTargetDinoColor 0 6 would color the Brontosaurus's "body" magenta.
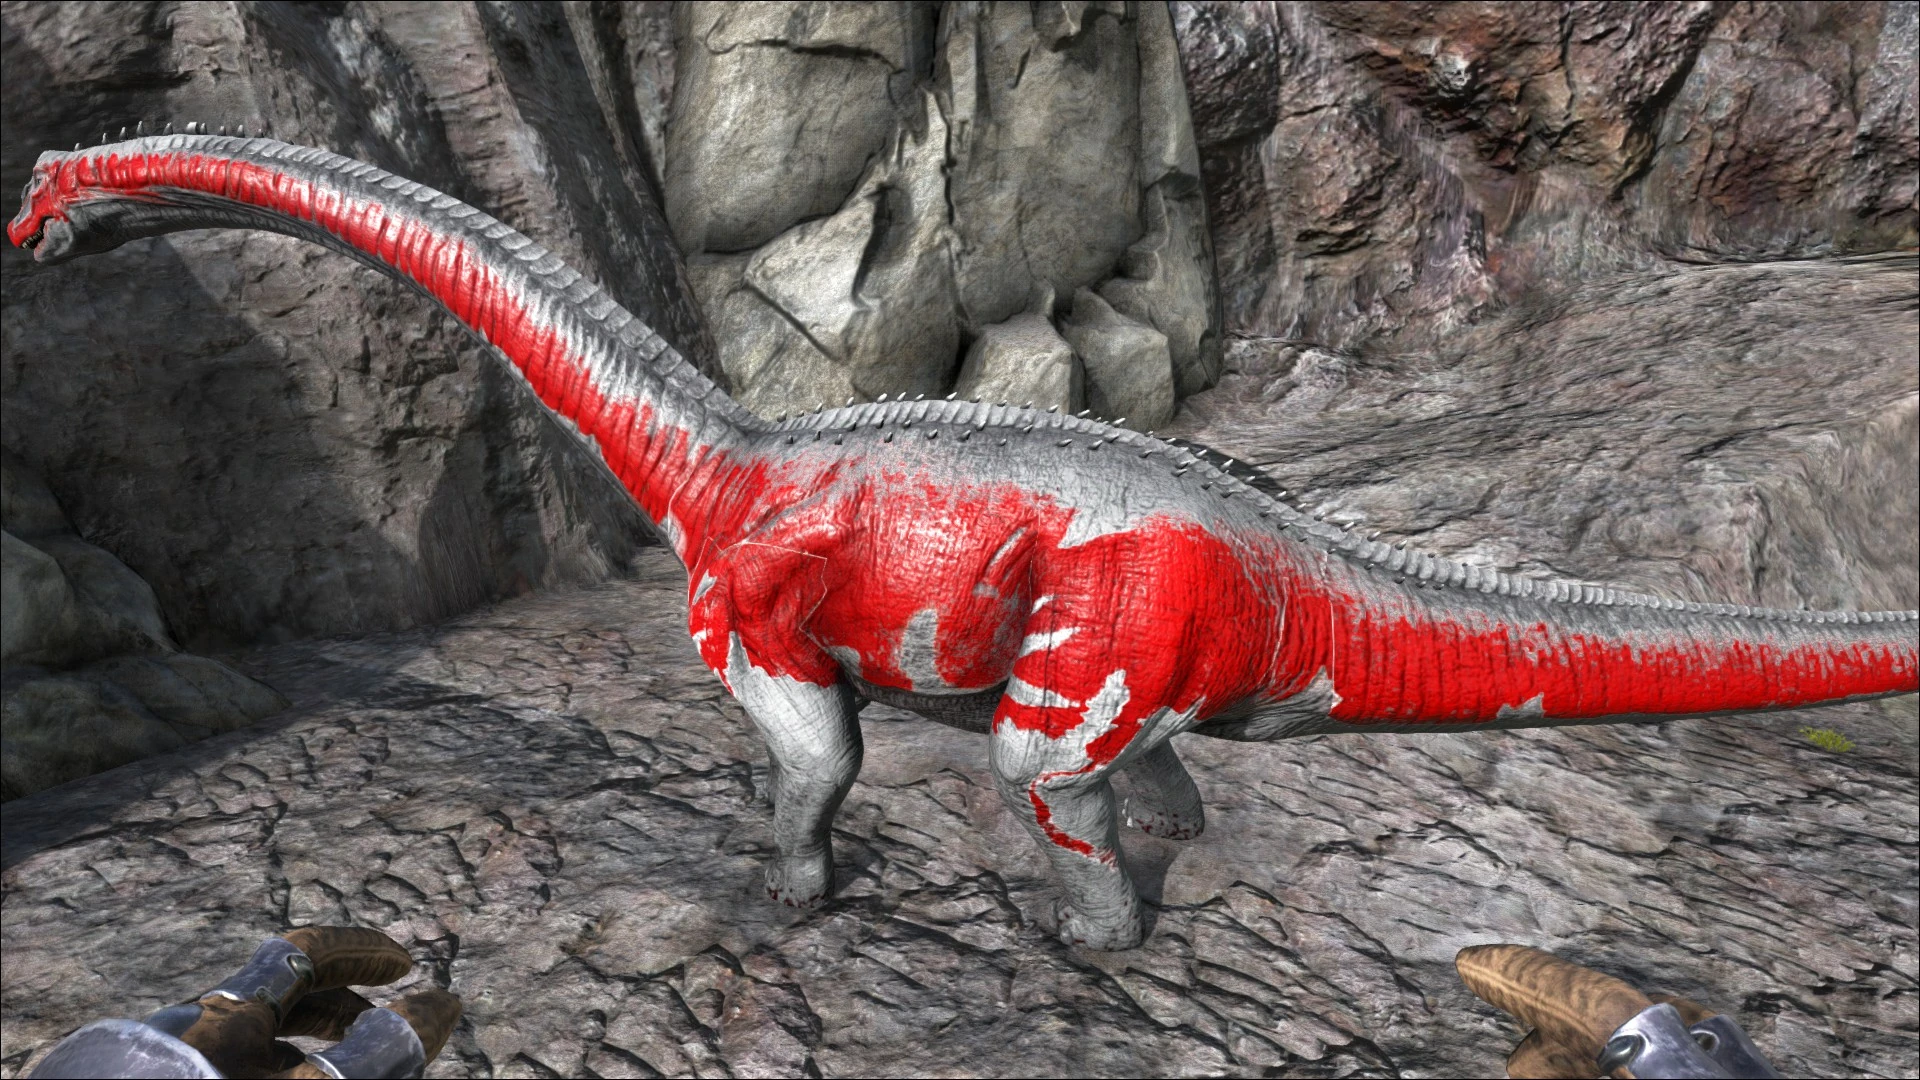
Body

Spine

Region 2 is not used
for this Creature.
Region 3 is not used
for this Creature.
Back
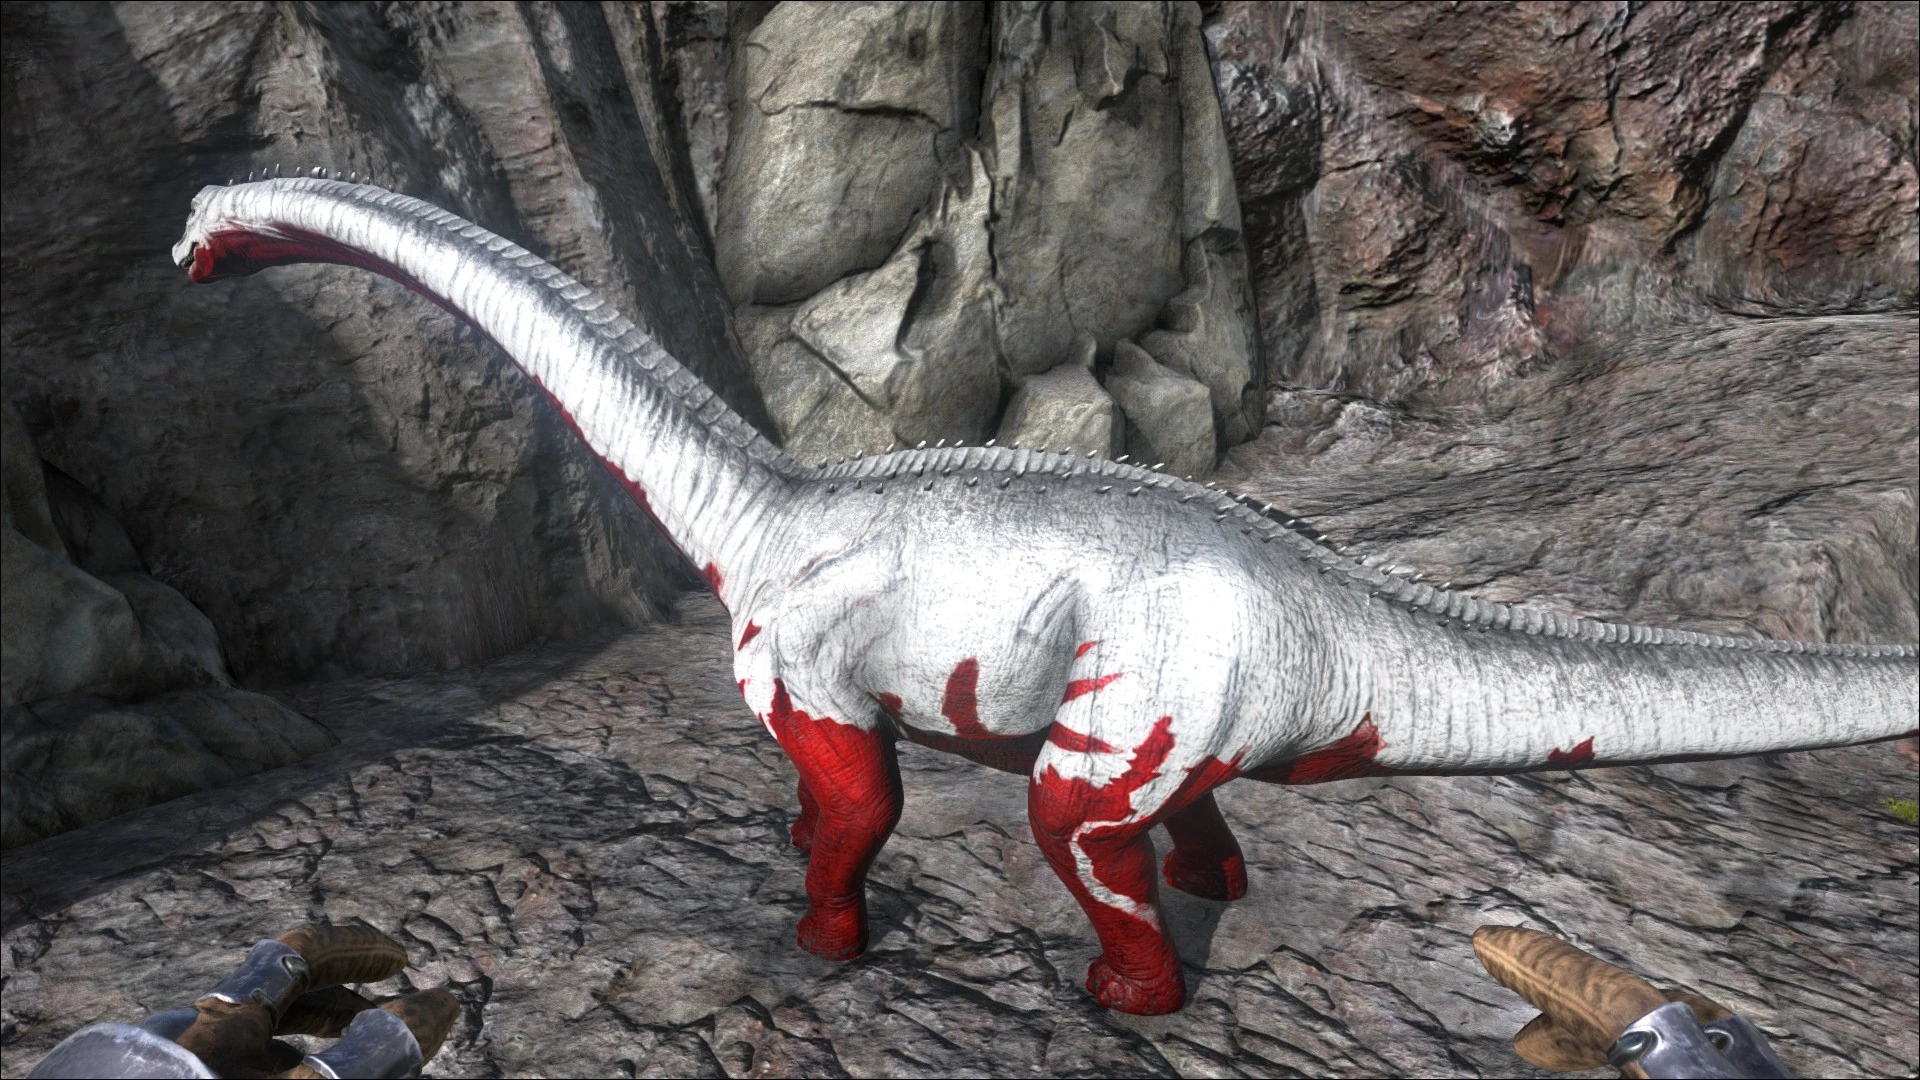
Legs
Drops
- Harvest
- Guaranteed Special Loot
To get the Sauropod Vertebra you must access the dead dinosaur's inventory.
Because of the Brontosaurus' sheer size, they drop large quantities of Raw Meat and Raw Prime Meat. Because of this, killing a Brontosaurus is ideal for a carnivorous effective tame, such as a Rex. That is, before it spoils due to its fast spoil timer. Recommended to kill a Brontosaurus close to your tame so the prime meat doesn't spoil.
Base Stats and Growth
| Attribute | Base Value | Level Increase | Taming Bonus | ||
|---|---|---|---|---|---|
| Wild | Tamed | Additive | Multiplicative | ||
| 2300 | +460 | +3.8% | 0.07 | ||
| 240 | +24 | +10% | |||
| 150 | +15 | +10% | |||
| 10000 | +1000 | +10% | |||
| 1600 | +32 | +4% | |||
| 60 | +3 | +1.7% | 7% | 17.6% | |
| 100% | N/A | +2.5% | |||
| 2000 | +120 | N/A | 0.5 | ||
- For a comparison of the stats of all creatures, see Base Creature Statistics.
- For an explanation of exactly how the levelup calculation works, see Creature Stats Calculation.
| Movement [u/s] |
Base Speed | Sprinting Speed | Stamina | ||||
|---|---|---|---|---|---|---|---|
| Wild | Tamed1 | Tamed2 | Wild | Tamed1 | Tamed2 | ||
| Walking | 150 | ? | ? | 607.5 | 405 | 405 | 20 |
| Swimming | 300 | ? | ? | ? | ? | ? | ? |
- 1These are the base speeds of the creature at 100% Movement Speed.
- 2These are the speeds of the creature tamed and non-imprinted.
- For a comparison of the speeds of all creatures, see Base Creature Speeds.
| Melee | Stamina Cost | Attack Range | Description | ||||||||||
|---|---|---|---|---|---|---|---|---|---|---|---|---|---|
| Base | Minimum | Activation | Using the |
||||||||||
| 0 | 2000 | 0 | 0 | ||||||||||
| Attack Type | Damage | Projectile Values | Torpor Values | Status Effect: Stamina | Status Effect: Torpidity | ||||||||
| Life | Impulse | Radius | Base | Mult | Duration | Damage Mult | Amount | Duration | Damage Mult | Amount | |||
| Melee | 60 | ||||||||||||
Wild Stats Level-up
Type in values of a wild creature to see on which stats it's emphasized. Green values on a high-level creature are very good for breeding. If you have already tamed your creature you can try to recover the breeding stats with an external tool.[1]
The stat-calculator does not work in the mobile-view, see here for alternatives: Apps
Note that after the creature is tamed it gets bonuses on some stats depending on the taming effectiveness. This makes it hard to retrieve the levels on a tamed creature, so this tool is only for wild ones, but gives a first impression, how well the stats are distributed.
Taming
| Time | |||||
|---|---|---|---|---|---|
| 7 | 0 | 0 | 0 | 0:04:29 | |
| 66 | 0 | 0 | 0 | 0:31:41 | |
| 66 | 0 | 0 | 0 | 0:31:41 | |
| 66 | 0 | 0 | 0 | 0:31:41 | |
| 66 | 0 | 0 | 0 | 1:03:22 | |
| 88 | 0 | 0 | 0 | 0:31:41 | |
| 132 | 0 | 0 | 0 | 0:31:41 | |
| KO: | |||||
| Torpidity-depletion: 0.3 / s, Time until all torpidity is depleted: 01:51:06 | |||||
| Time | |||||
|---|---|---|---|---|---|
| 16 | 0 | 0 | 0 | 0:10:14 | |
| 157 | 0 | 0 | 0 | 1:15:22 | |
| 157 | 0 | 0 | 0 | 1:15:22 | |
| 157 | 0 | 0 | 0 | 1:15:22 | |
| 157 | 0 | 0 | 0 | 2:30:44 | |
| 209 | 0 | 0 | 0 | 1:15:15 | |
| 313 | 0 | 0 | 0 | 1:15:08 | |
| KO: | |||||
| Torpidity-depletion: 0.5 / s, Time until all torpidity is depleted: 03:03:16 | |||||
| Time | |||||
|---|---|---|---|---|---|
| 25 | 0 | 0 | 0 | 0:16:00 | |
| 250 | 0 | 0 | 0 | 2:00:01 | |
| 250 | 0 | 0 | 0 | 2:00:01 | |
| 250 | 0 | 0 | 0 | 2:00:01 | |
| 250 | 31 | 7 | 4 | 4:00:01 | |
| 334 | 0 | 0 | 0 | 2:00:15 | |
| 500 | 0 | 0 | 0 | 2:00:01 | |
| KO: | |||||
| Torpidity-depletion: 0.66 / s, Time until all torpidity is depleted: 03:52:44 | |||||
| Time | |||||
|---|---|---|---|---|---|
| 35 | 0 | 0 | 0 | 0:22:23 | |
| 344 | 0 | 0 | 0 | 2:45:08 | |
| 344 | 0 | 0 | 0 | 2:45:08 | |
| 344 | 0 | 0 | 0 | 2:45:08 | |
| 344 | 295 | 63 | 32 | 5:30:15 | |
| 459 | 0 | 0 | 0 | 2:45:15 | |
| 688 | 0 | 0 | 0 | 2:45:08 | |
| KO: | |||||
| Torpidity-depletion: 0.79 / s, Time until all torpidity is depleted: 04:28:38 | |||||
| Time | |||||
|---|---|---|---|---|---|
| 44 | 0 | 0 | 0 | 0:28:08 | |
| 438 | 0 | 0 | 0 | 3:30:15 | |
| 438 | 0 | 0 | 0 | 3:30:15 | |
| 438 | 0 | 0 | 0 | 3:30:15 | |
| 438 | 663 | 144 | 72 | 7:00:29 | |
| 584 | 0 | 0 | 0 | 3:30:15 | |
| 875 | 0 | 0 | 0 | 3:30:01 | |
| KO: | |||||
| Torpidity-depletion: 0.92 / s, Time until all torpidity is depleted: 04:56:50 | |||||
| Time | |||||
|---|---|---|---|---|---|
| 54 | 0 | 0 | 0 | 0:34:32 | |
| 532 | 0 | 0 | 0 | 4:15:22 | |
| 532 | 0 | 0 | 0 | 4:15:22 | |
| 532 | 0 | 0 | 0 | 4:15:22 | |
| 532 | 1117 | 246 | 123 | 8:30:44 | |
| 709 | 0 | 0 | 0 | 4:15:15 | |
| 1063 | 0 | 0 | 0 | 4:15:08 | |
| KO: | |||||
| Torpidity-depletion: 1.04 / s, Time until all torpidity is depleted: 05:20:05 | |||||
Note that the values are for optimal cases, always bring extra supplies!
For a level-dependent count of resources needed, try an external taming calculator.
KO Strategy
- The best method would be using a Scorpion, Tranquilizer Arrows, or Tranquilizer Darts, but if those are not available to you, then a simple Slingshot will do the trick (100+ stone).
- Attacking a Brontosaurus from the top of a tall, steep cliff can allow you to attack it while staying out of range of its powerful attacks.
- Lay down a wood or stone foundation with 3 wood or stone walls and wooden one door. Above the first layer place 4 wooden frames with no doors. Stand inside your shelter and shoot it it wont damage you just your shelter.
Combat
This section describes how to fight against the Brontosaurus.
General
The Brontosaurus has the highest health pool of any herbivore and the base damage of a Rex. Their attack has a massive range and huge knockback which makes this creature dangerous when riled up. Avoid, unless it is necessary to attack. Also, try to avoid attacking small creatures such as Dilophosaurus, near a Brontosaurus, as you could accidentally hit the Bronto, and aggro it.
Strategy
If on foot, try to keep distance. Their tail-sweeping attack has a massive range and can knock a player or attacking animal off slopes or cliffs. They can be stuck behind rocks and cliffs and shot at safely. A strong mount can defeat the Bronto with dedicated attacking, but your mount must be able to withstand a high amount of damage. Large carnivores like a Rex, Spino or Giganotosaurus can kill a Bronto with ease, provided the player does not make a mistake during the battle.
It is extremely easy to kill a wild Bronto even at lower levels by getting its attention and then sailing out into deep waters far from land with it following you. While sitting in the pilot's seat of a raft, it won't acknowledge your presence, and thus you may drown it by simply getting it further away from shore than it can swim back, and it will sink until it dies.
Weaponry
Attacking with melee on foot is never a good idea, as the Brontosaurus has massive damage and knockback making it difficult to even reach it. Using a ranged weapon or a strong dino is recommended. A ballista on a raft can also be effective as long as you have enough bolts
Dangers
Their tail swing will throw attackers back, potentially off ledges and cliffs. If the attacker is not fast enough to recover the distance before it swings again, the Bronto can easily hold them back. A Bronto's legs also inflict damage(crushing damage) in huge amounts very quickly versus players, so it is recommended that players do not get caught underfoot or they will likely be trampled to death.
Weakness
Despite its massive range, the Brontosaurus is very slow in terms of movement and attack rate. Their massive size allows them to be stuck behind cliffs and large boulders much easier than others. They also will attempt to retreat when wounded, where it won't fight back but can still deal damage if players are under it. It should also be noted that, from the front, their tail hits either to the left or right and can be dodged by strafing the opposite direction quickly. Using this technique it is easily possible to slay a Bronto without taking any damage on foot with a bow or crossbow.
The Bronto will also have trouble hitting you if you attack its back with a flying mount such as the Argentavis. If you have a flying mount to attack with, it is best to swoop and hit the backside of it's head.
Utility
Roles
- Tank: Decent tank due to its high HP (Level up
 Health and Melee Damage).
 - Damage: Very good AOE and base damage. Too slow to chase down prey (Level up Melee Damage, Stamina and some Movement Speed).
- Transport: While slow, it has the best base carrying capacity in-game. Good for local transport (Level up Weight, Movement Speed and Stamina).
- Gatherer: Excellent for gathering materials. If you tell the Bronto to attack near plants, you will acquire an enormous amount of resources (Level up Melee Damage and Stamina).
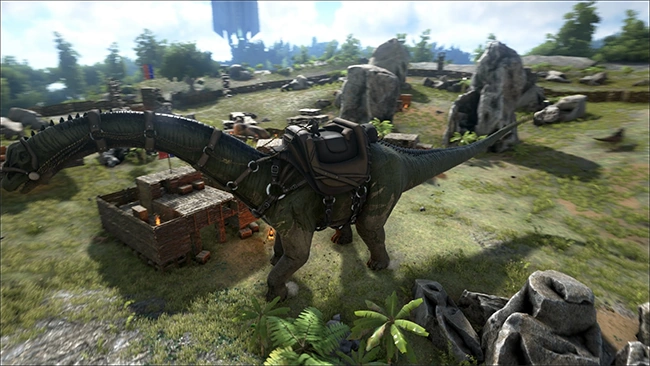
- Mobile Base Platform: Use a Platform Saddle to build a mobile base on the back of your Brontosaurus. Structures do not affect Dinosaur weight capacity, but storage does; increase weight if used for transport (Level up Health, Movement Speed and Stamina).
Collectibles
| Resource | Efficiency |
|---|---|
| ★★★★★ | |
| ★★★★★ | |
| ★★★★★ | |
| ★★☆☆☆ |
Notes/Trivia
For information pertaining specifically to the real-world Brontosaurus, see the relevant Wikipedia article.
- Its full name literally means "Helpful Thunder Lizard".
- Brontosaurus are one of the endgame berry farming machines you will wish to have. Use their attacks against large groups of bushes to gather more than a hundred berries. Depending on your location, you'll be able to farm more than 1500 Narcoberries in one, single ingame night. Also, due to their enormous weight capacity, they make transport of large quantities slow, but effective.
- Brontosaurus' tail attack is extremely wide, and reaches almost up to its head in a 180° whip in the direction you are facing. Caution is advised when using tail attacks to collect berries, because you might hit a herd of Triceratops, causing all of them to attack you, which can be overwhelming for even the Bronto.
- The dossier mistakenly places Brontosaurus' time period as the late Cretaceous when, in fact, it actually lived in the late Jurassic. However, the dossier also acknowledges that it may be another sauropod like Argentinosaurus, which did come from the late Cretaceous.
- The Brontosaurus is so large that when it steps on smaller creatures (such as trilobites, meganeuras, or dodos) it deals damage to them and sometimes even kills them. This can be a problem, especially when navigating through swamps, as you frequently step on Dragonflies, killing them and causing a couple of them to attack you at a time. One tail sweep often kills all of them, earning you a lot of experience points.
- If you are on a server/single player world with a high gathering rate, your brontosaurus can very easily become over encumbered with one-two tail sweep(s), so be wary. (Yes, that means over 900 pounds of berries, thatch and wood.)
Gallery
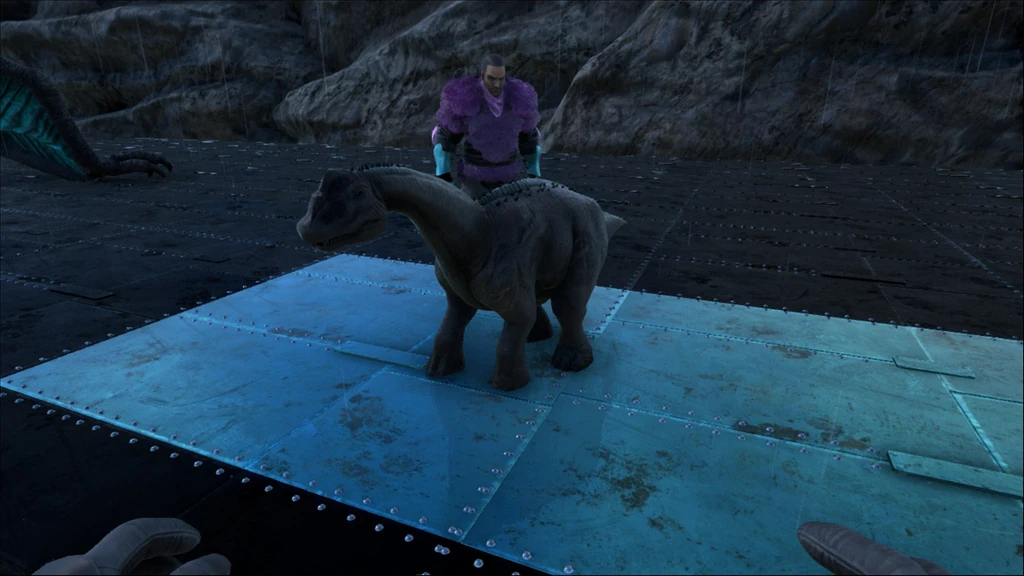
Baby Brontosaurus
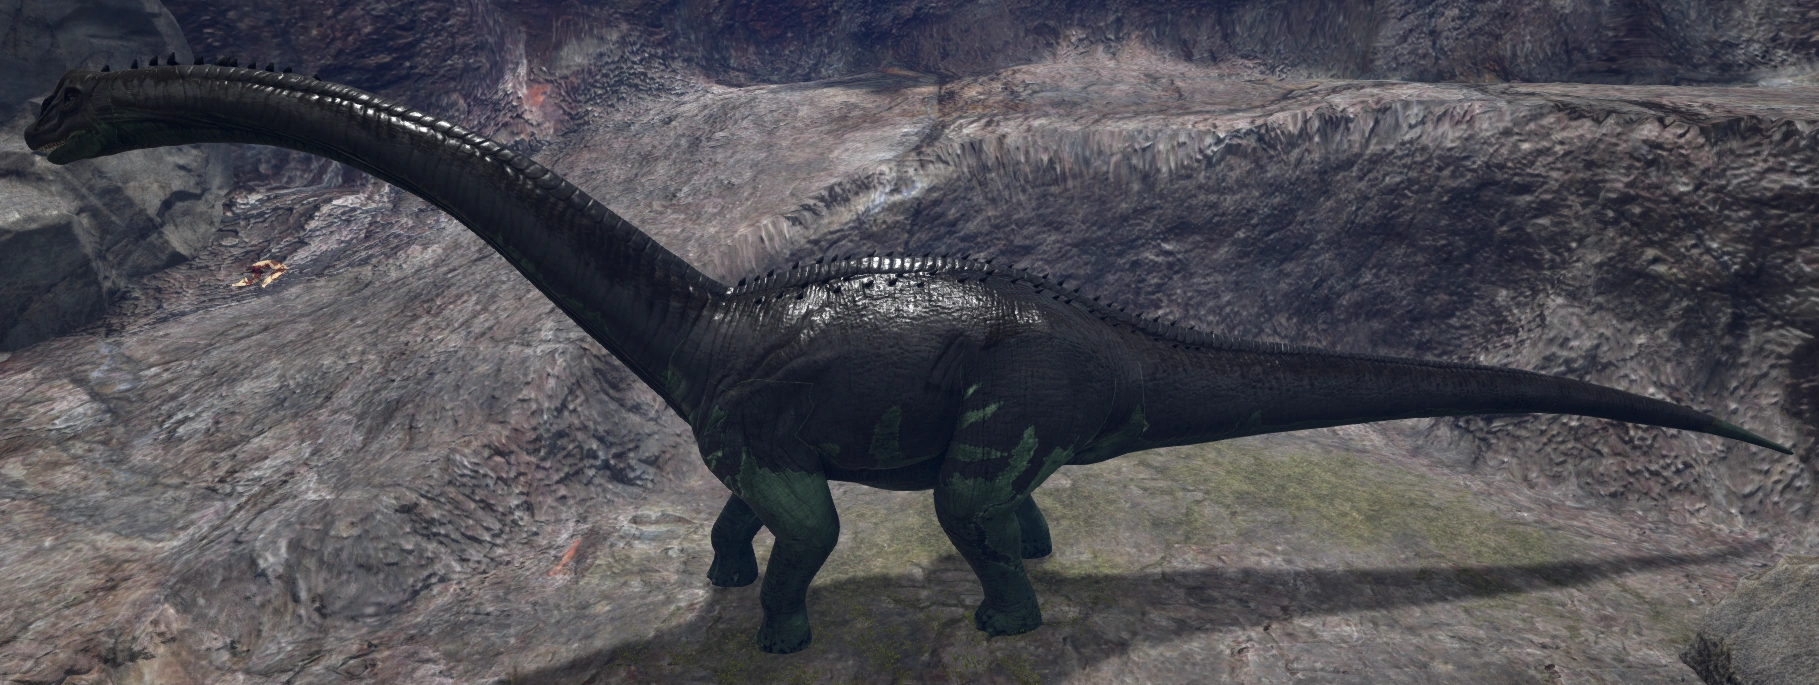
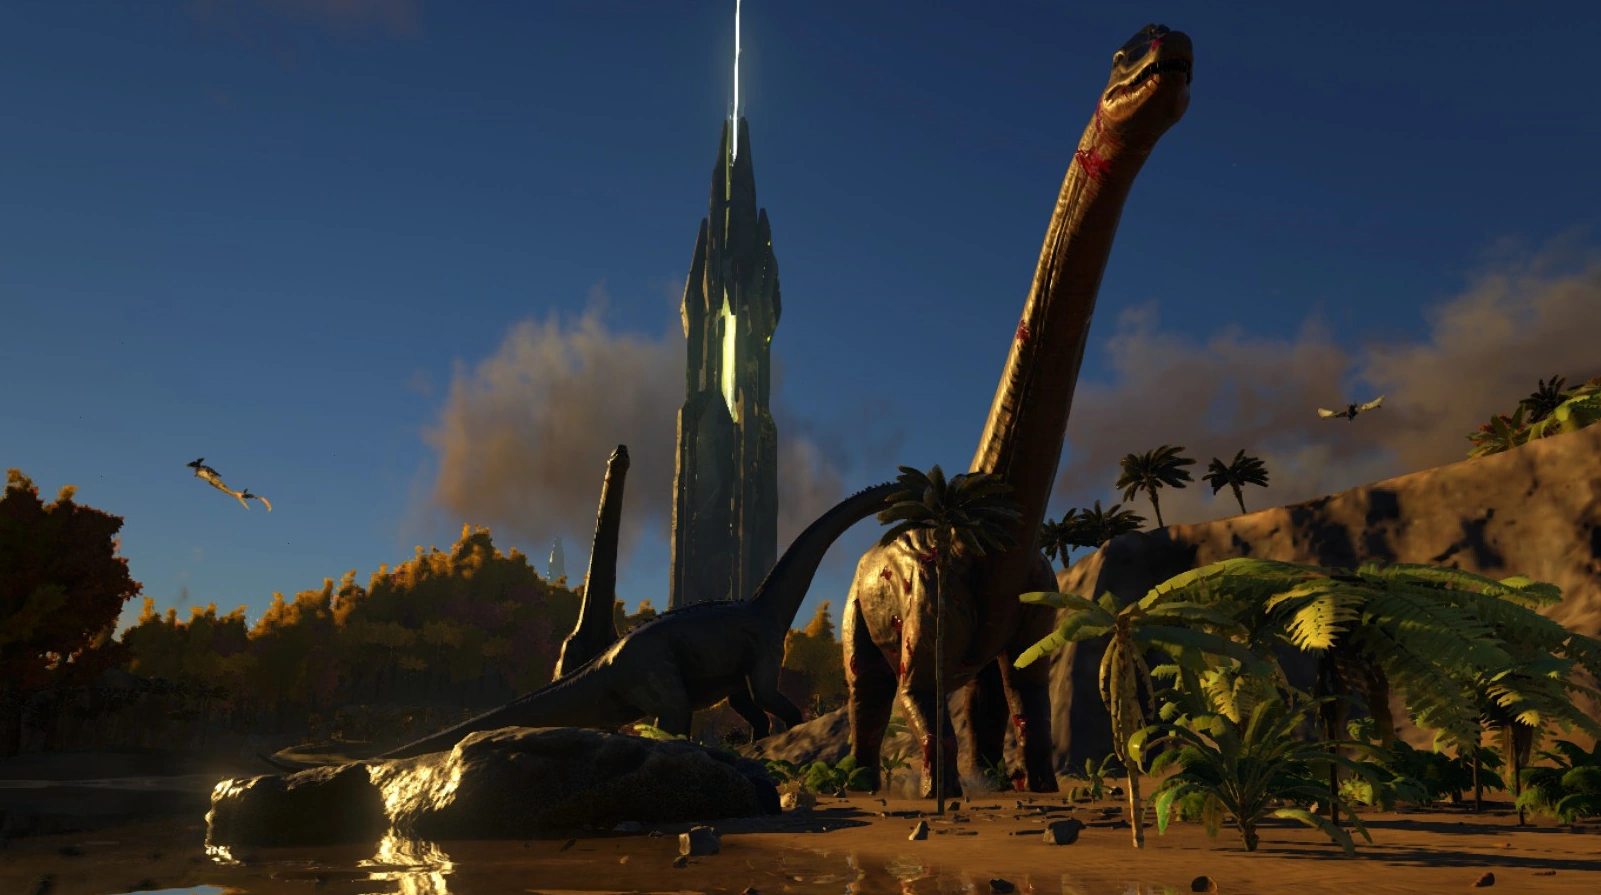
A Brontosaurus family takes a break after a fight with a Rex on the south coast.


